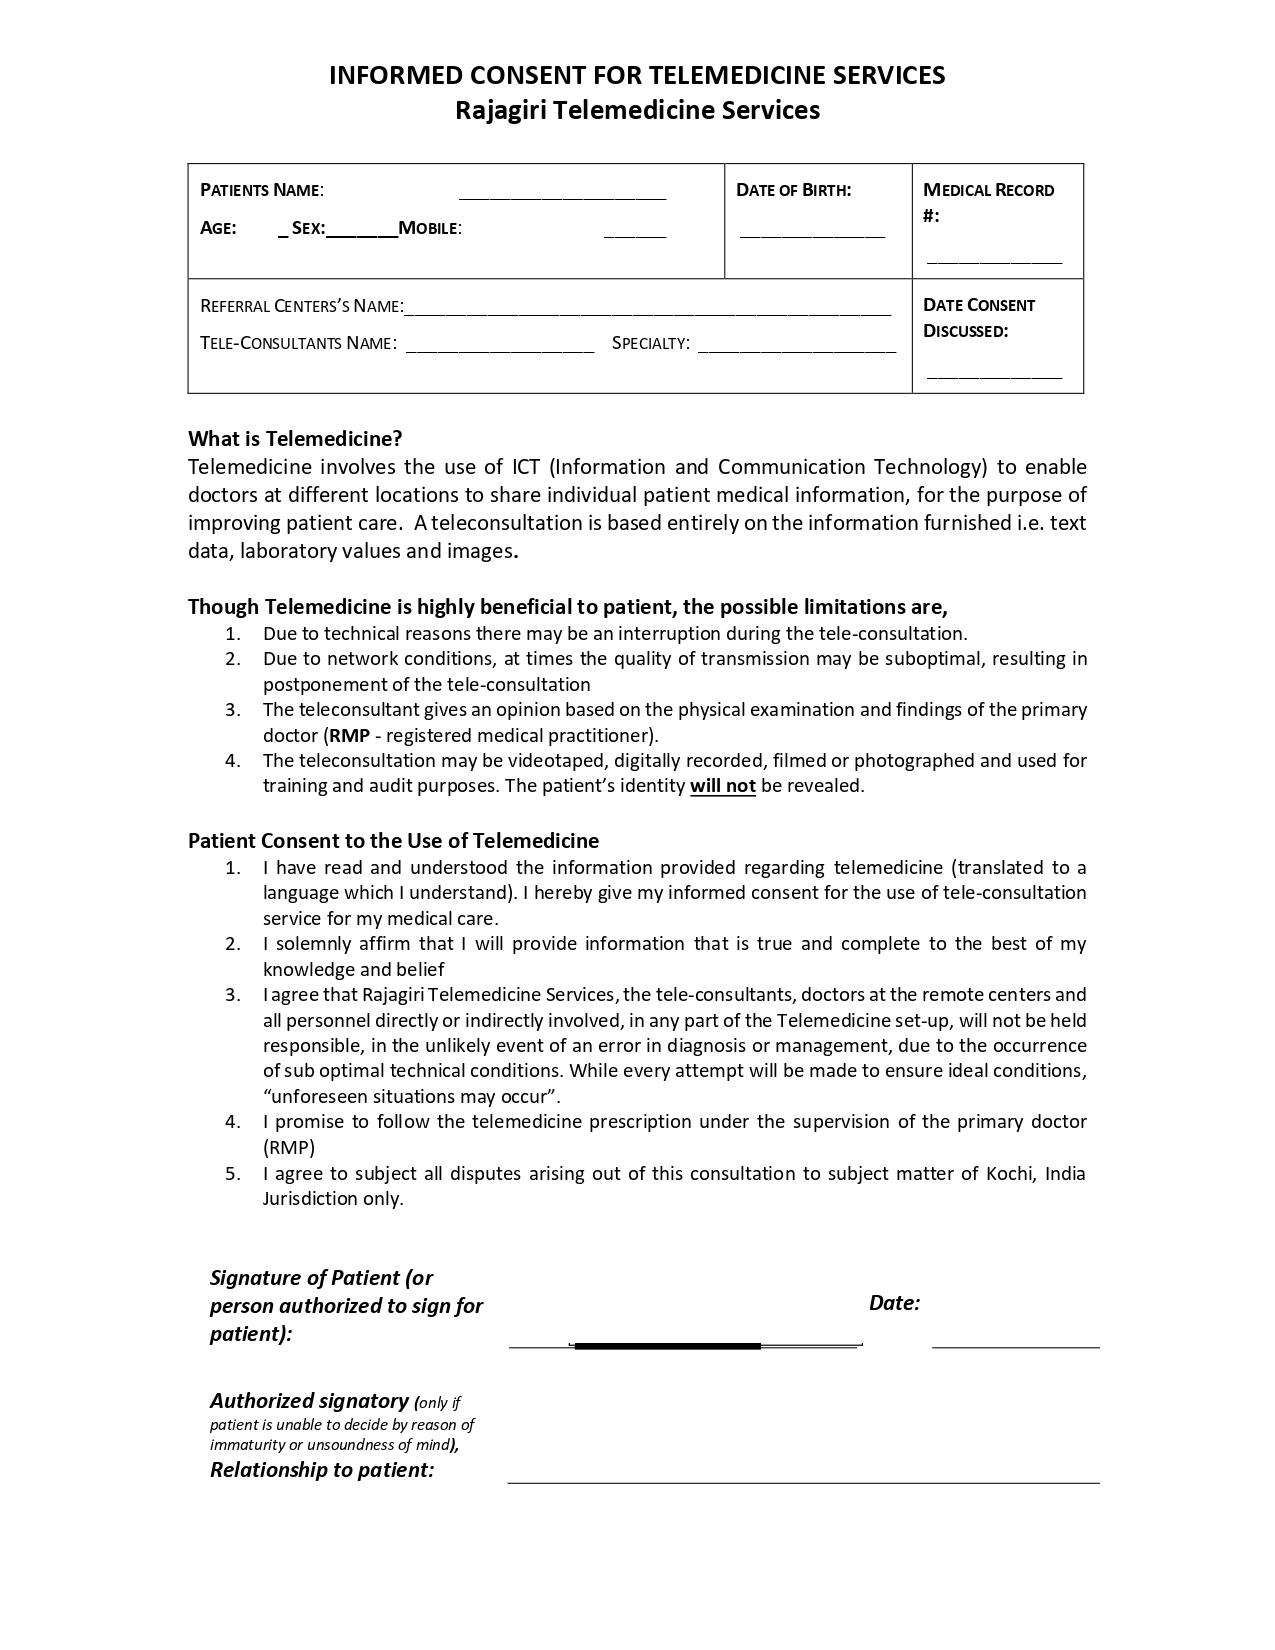


You may use the App for the purpose of receiving telemedicine services and medical care. You agree to provide accurate and complete information when using the App. You must also comply with all applicable laws and regulations when using the App.
To use the App, you may need to create a user account. You are responsible for maintaining the confidentiality of your account information and for any activity that occurs under your account.You must immediately notify us of any unauthorised use of your account or any other breach of security.
The App and its contents are owned by QuikDr and its licensors, and are protected by copyright, trademark, and other intellectual property laws. You may not copy, modify, distribute, or create derivative works of the App or its contents without our prior written consent.
In no event shall QuikDr or its affiliates, officers, directors, employees, or agents be liable for any direct, indirect, incidental, special, or consequential damages arising out of or in connection with your use of the App or its contents.
You agree to indemnify and hold harmless QuikDr and its affiliates, officers, directors, employees, and agents from any claims, liabilities, damages, and expenses (including reasonable attorneys’ fees) arising out of or in connection with your use of the App or your breach of these Terms.
We reserve the right to modify or discontinue the App or these Terms at any time without notice. Your continued use of the App after any modifications to these Terms constitutes your acceptance of the modified Terms.
These Terms shall be governed by and construed in accordance with the laws of [Jurisdiction]. Any disputes arising out of or in connection with these Terms shall be resolved through binding arbitration in accordance with the rules of [Arbitration Association]. The arbitration shall take place in kerala, India
We may terminate your use of the App at any time for any reason without notice. Upon termination, you must immediately cease all use of the App and its contents. (edited)
1.) Information We Collect
When you use the App, we may collect the following information:
2.) How We Use Your Information
We may use your information for the following purposes:
3.) How We Share Your Information
We may share your information with third parties in the
following circumstances:
4.) Data Retention and Security
We will retain your information for as long as necessary to
fulfil the purposes for which it was collected, or as required by law. We implement reasonable
security measures to protect your information from unauthorised access and use.
5.) Children’s Privacy
The App is not intended for use by children under the age of 18. We
do not knowingly collect personal information from children under 18.
6.) Changes to this Privacy Policy
We may update this Privacy Policy from time to time. We will
notify you of any material changes by posting the new Privacy Policy on the App. Your continued use
of the App after the changes have been made will constitute your acceptance of the new Privacy
Policy